Ready to take your travel snapshots from drab to fab? In this beginner’s guide to travel photography, we’ll cover everything you need to know, from the gear you should pack to insider tips on how to capture the perfect moment, all while keeping it fun and light. Get ready to make your friends super jealous of your epic trip photos!
Why Bother with Travel Photography?
Travel photography isn’t just about snapping a few pics to remember where you’ve been; it’s about capturing the essence of your journey. Imagine returning home with stunning images that transport you back to those breathtaking landscapes and vibrant markets. Plus, let’s be real – social media loves a good travel shot! Nothing says ‘I’m living my best life’ like a well-composed photo from your latest adventure.
What Gear Do You Really Need?
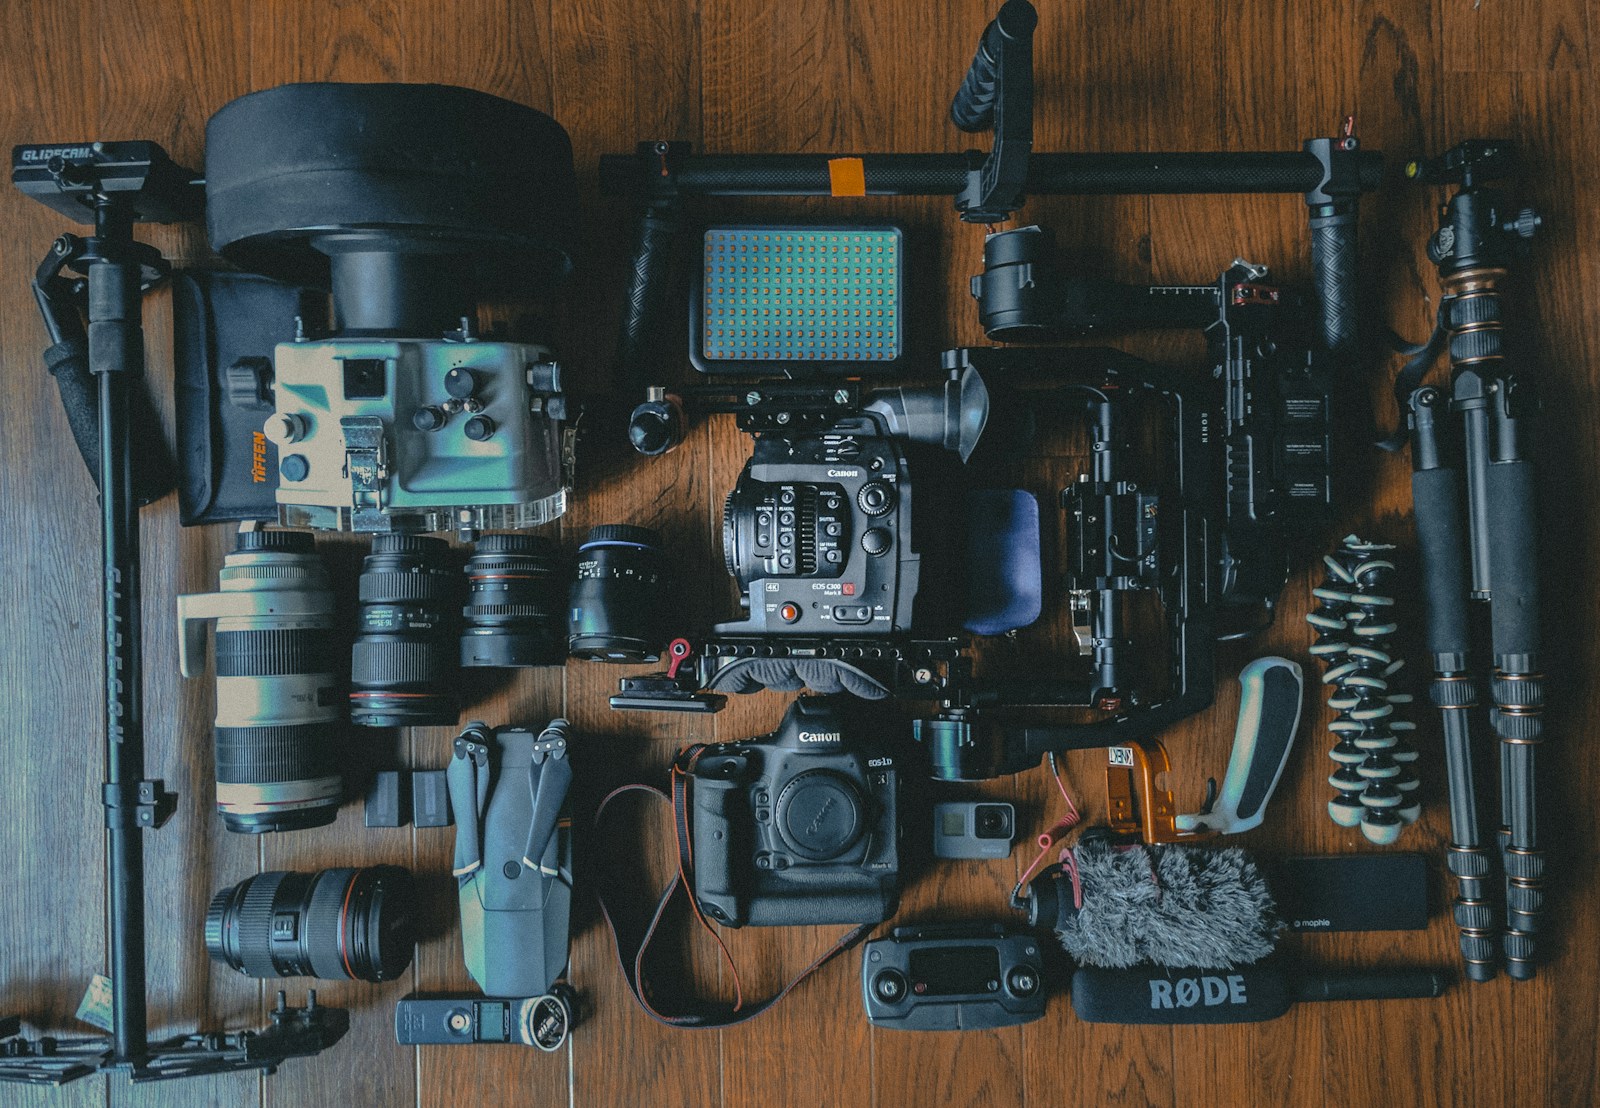
The world of travel photography gear can be overwhelming, but the key is to focus on tools that enhance your experience rather than weighing you down. Here’s a breakdown of essentials:
- Camera: Whether it’s a high-end DSLR, a mirrorless camera, or your smartphone, each option has its strengths. DSLRs offer unmatched image quality and flexibility, while smartphones are lightweight, accessible, and surprisingly capable for most situations.
- Lenses: If you’re using a DSLR or mirrorless camera, a versatile zoom lens (e.g., 24-70mm) is perfect for capturing landscapes, portraits, and close-up shots. Consider a lightweight prime lens (e.g., 50mm) for sharper images and lower-light conditions.
- Tripod: A portable tripod is a game-changer for night photography, long exposures, or steady group shots. Opt for a compact, lightweight option like the Joby GorillaPod or the Peak Design Travel Tripod.
- Accessories:
- Extra Batteries: You don’t want to run out of power halfway through a spectacular sunset.
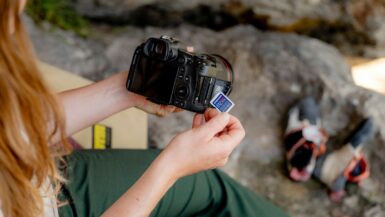
- Memory Cards: Bring multiple cards to avoid losing data and ensure you have enough storage.
- Camera Bag: Invest in a durable, padded bag to protect your equipment.
For budget-friendly ideas, check out our guide to travel gear essentials to find what works for your needs and preferences.
Smartphone vs. DSLR: Which One’s Your Travel Buddy?
Smartphones:
Smartphones are incredibly powerful tools for travel photography, especially for beginners. Modern devices like the iPhone 14 Pro and Google Pixel 7 boast features like night mode, ultra-wide lenses, and even AI-powered editing. Here are some advantages:
- Portability: No bulky equipment required.
- Instant Editing and Sharing: Capture, edit, and post on social media within minutes.
- Great for Spontaneous Moments: Easily whip it out for candid or fleeting shots.
DSLRs/Mirrorless Cameras:
For serious photographers, a DSLR or mirrorless camera provides superior image quality, control, and versatility. Here’s why you might choose this route:
- Interchangeable Lenses: From wide-angle to telephoto, adapt to any scene.
- Manual Settings: Fine-tune ISO, shutter speed, and aperture for creative shots.
- Raw Format: Capture more detail for extensive editing possibilities.
If you’re torn between the two, remember that the best camera is the one you have with you. Learn more about portable and functional equipment in this guide to backpacking tripods.
Framing Your Shot: A Photographer’s Secret Weapon
Good framing is the difference between a forgettable photo and one that stops people in their tracks. Here are some techniques to master framing:
- Natural Frames: Use doorways, arches, windows, or trees to frame your subject and add depth. For example, imagine shooting the Eiffel Tower through the branches of nearby trees—this adds a unique perspective to an iconic landmark.
- Rule of Thirds: Mentally divide your shot into a 3×3 grid. Place key elements (like a person, building, or mountain) along these lines or at their intersections for a visually pleasing composition.
- Foreground Interest: Include objects in the foreground (like flowers, rocks, or people) to create a sense of scale and depth in your photo. This technique works wonders for landscapes, giving them a 3D feel.
For picturesque inspiration, look at examples from Mexico’s most scenic beaches to see how natural elements enhance framing.
The Golden Hour: Why Timing is Everything
The “Golden Hour” refers to the first hour after sunrise and the last hour before sunset. Photographers love this time because of the warm, diffused light it provides, making colors pop and shadows softer. Here’s how to make the most of it:
- Plan ahead by researching sunrise and sunset times.
- Scout your location early to find the best angles and vantage points.
- Use the light creatively—try shooting against the sun (backlighting) to create silhouettes or sun flares.
Golden Hour is ideal for capturing stunning landscapes, portraits, or cityscapes. For a breathtaking destination to practice, consider exploring cenotes in Mexico during these magical hours.
Tips for Capturing Landscapes That Wow
- Leading Lines: Pathways, rivers, fences, or roads draw the viewer’s eye into the scene. Use these lines to guide attention toward the focal point of your photo.
- Layering: Capture layers in your landscape—foreground, midground, and background—to add depth and scale. For example, include a field of flowers in the foreground of a mountain shot.
- Play with Perspective: Change your vantage point to create unique compositions. Shoot from a low angle to make landscapes feel larger-than-life or climb to a high vantage point for sweeping views.
To practice these tips, check out hidden beaches in Mexico that offer incredible natural scenery.
People Photography: Capturing the Soul of Your Journey
Travel photography isn’t complete without people, whether it’s your travel companions or locals. Here are tips for photographing people respectfully:
- Candid Moments: Capture unposed interactions or moments of genuine emotion, like your friend marveling at a sunset.
- Ask Permission: When photographing locals, a simple smile and request can go a long way. Some cultures may view photography differently, so always be mindful.
- Cultural Sensitivity: Avoid stereotypes or intruding on private moments, and respect local customs.
For ideas on integrating people into your photos, explore vibrant street markets in Oaxaca for candid and colorful opportunities.
Editing Magic: Transforming Good Photos into Great Ones
Editing enhances the raw beauty of your photos. Here’s how to get started:
- Lightroom: A powerful tool for beginners and pros alike, offering detailed adjustments for lighting, color, and sharpness.
- Snapseed: Ideal for quick edits on your phone, with user-friendly features like selective editing and presets.
- Basic Edits: Start with brightness, contrast, and saturation to make your image pop. For landscapes, increase vibrance for richer colors; for portraits, reduce highlights for softer skin tones.
Real-Life Examples: Be Inspired by the Best
Draw inspiration from top travel photographers and their use of light, composition, and storytelling. Whether it’s a stunning shot of the Coba Ruins or a bustling street scene, analyze the elements that make their images compelling.
Wrapping It Up: Why Roaming Ramblers is Your Photography Partner
At Roaming Ramblers, we celebrate the art of travel photography and provide you with the tools to master it. Whether you’re shooting with a smartphone or DSLR, our guides—like the ultimate gear guide—help you create photos that tell a story.
Get out there, experiment, and let your travel adventures shine through your lens!


